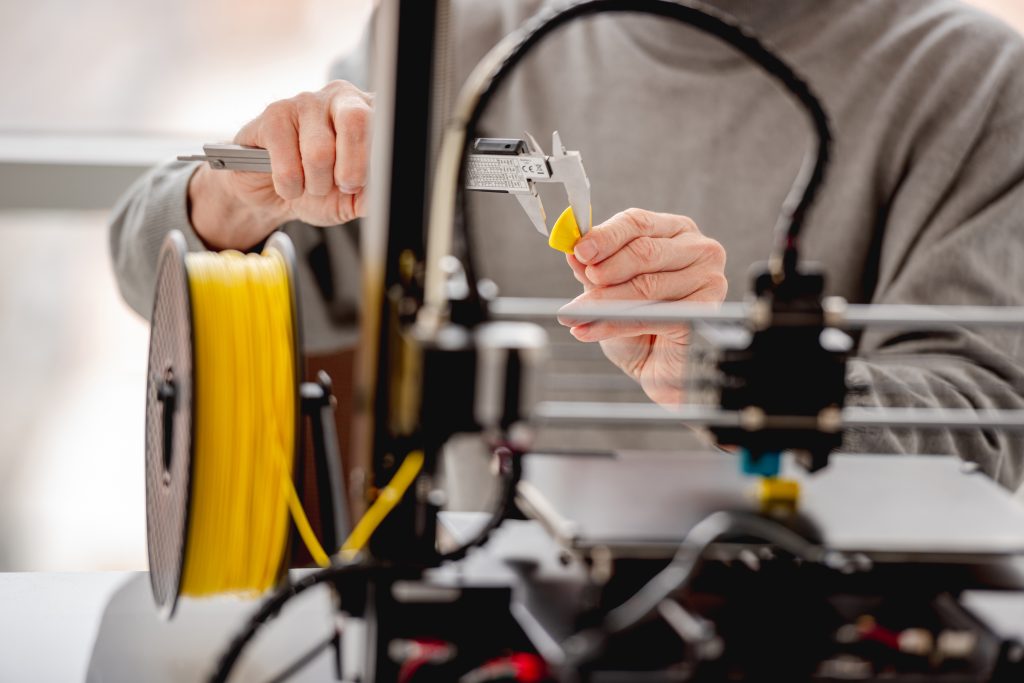
Are you struggling with print quality issues on your 3D printer? The culprit might be a dirty printer bed. Neglecting to clean it can lead to irreversible damage and costly replacements. But don’t worry, we’ve got you covered with this easy-to-follow guide on how to clean your 3D printer bed in just five simple steps. By taking the time to properly maintain your bed, you’ll ensure optimal performance and achieve better printing results. Let’s dive in and get that bed sparkling clean!
Step 1: Power Off and Remove the Print Bed
First, you need to power off your 3D printer and carefully remove the print bed. Cleaning precautions are essential to ensure the longevity of your printer bed and maintain optimal print quality. Regular cleaning is important because residual filament and contaminants can affect print quality and potentially damage the printing bed over time. By choosing the right cleaning solution, such as isopropyl alcohol (IPA), you can effectively remove oils, fingerprints, and debris from the bed surface without causing any damage. Maintaining a clean printing environment is crucial for successful prints, as it prevents dust and other particles from interfering with adhesion. When removing the print bed, it’s important to handle it with care to prevent any accidental damage. Gently scrape off any excess filament or debris before proceeding with further cleaning steps. By following these cleaning precautions and maintaining a clean printing environment, you can ensure better results and prolong the life of your 3D printer bed.
Step 2: Gently Scrape Off Excess Filament and Debris
Next, gently use a scraper or spatula to remove any excess filament and debris from the 3D printer bed. This step is crucial in preventing filament residue buildup and ensuring a clean printing surface. When choosing a scraping tool, opt for one that is made of metal with a smooth edge to avoid scratching the bed. Make sure to scrape in a controlled manner, applying just enough pressure to remove the residue without causing damage.
Pay close attention to hard-to-reach areas on the bed, such as corners and edges. Use the tip of the scraper or spatula to carefully reach these spots and remove any lingering debris. Take your time and be thorough in your scraping technique to ensure all residue is removed.
After scraping off excess filament and debris, it’s important to thoroughly dry the printer bed before proceeding with further cleaning or printing. Moisture can negatively impact print adhesion and result in poor print quality. Allow the bed to air dry completely or use a lint-free cloth to gently pat it dry.
Step 3: Wipe the Bed Surface With IPA
To ensure a thorough cleaning, wipe the surface of the 3D printer bed with IPA using a lint-free cloth or microfiber wipe. Isopropyl alcohol (IPA) is an excellent choice for cleaning the bed surface due to its effective ability to remove oils, fingerprints, and other contaminants. Using IPA provides several benefits for maintaining a clean bed surface. Firstly, it evaporates quickly without leaving any residue behind, ensuring that the bed is ready for the next print. Additionally, IPA is safe to use on most printer beds and does not cause damage or discoloration.
However, there are some common mistakes to avoid when wiping the bed with IPA. It is important not to oversaturate the cloth or wipe as excessive moisture can seep into electronic components and cause damage. Additionally, be cautious of using alternative cleaning solutions for printer beds as they may contain chemicals that could harm your printer’s surface.
To maintain a clean bed surface between prints, it is recommended to handle the bed with clean hands or gloves to prevent oil transfer. Regularly inspecting and gently scraping off any residual filament or debris will help keep the bed clean.
Lastly, it is crucial to dry the bed thoroughly before reinstalling it in your 3D printer. This ensures that no moisture remains on the surface which could affect print adhesion and quality.
Step 4: Use a Soft Brush for Hard-to-Reach Areas
For cleaning those hard-to-reach areas of your 3D printer bed, gently use a soft brush. Using a soft brush has several advantages when it comes to cleaning these areas. Firstly, the bristles of a soft brush are gentle enough to avoid scratching or damaging the bed surface. This is crucial for maintaining the integrity and longevity of your printer bed. Additionally, a soft brush can effectively remove dust, debris, and residual filament from crevices and corners that may be difficult to reach with other cleaning tools.
To effectively use a soft brush for cleaning hard-to-reach areas, follow these step-by-step guide:
1. Ensure that your 3D printer is turned off and unplugged before starting the cleaning process.
2. Gently remove any loose debris or filament particles from the bed surface using a scraper or spatula.
3. Take the soft brush and lightly sweep it across all hard-to-reach areas, making sure to cover every nook and cranny.
4. Use short strokes and apply gentle pressure to dislodge any stubborn dirt or residue.
5. Once you have thoroughly brushed all hard-to-reach areas, use compressed air or lint-free wipes to remove any loosened debris.
It is important to regularly clean hard-to-reach areas on your 3D printer bed as they can accumulate dust, filament remnants, and other contaminants over time. Neglecting this maintenance can lead to poor print quality, adhesion issues, and potential damage to your printer bed.
Common mistakes to avoid when using a soft brush include applying too much pressure which could scratch the surface of the bed or using an abrasive brush with stiff bristles that could cause damage.
If you prefer not to use a soft brush for cleaning hard-to-reach areas on your 3D printer bed, there are alternatives available such as compressed air cans or specialized tools designed specifically for this purpose.
Regularly cleaning these difficult-to-reach areas ensures the optimal performance and longevity of your 3D printer bed, allowing for better print quality and reducing the risk of print failures. So, don’t forget to include this important step in your regular maintenance routine.
Step 5: Let the Bed Dry and Reinstall
After thoroughly cleaning the hard-to-reach areas of your 3D printer bed with a soft brush, make sure to let the bed dry completely before reinstalling it. Drying the bed is an essential step in maintaining the cleanliness and functionality of your printer. There are two primary methods for drying the bed: air drying and using a cloth.
Air drying offers several benefits over using a cloth. Firstly, air drying allows for more thorough evaporation, ensuring that all moisture is removed from the surface of the bed. This helps prevent any water droplets or residue from affecting your prints. Additionally, air drying avoids the risk of introducing lint or fibers onto the clean bed surface, which could potentially cause defects in your prints.
If you prefer not to wait for air drying, there are alternative methods for speeding up the process. You can use compressed air or a hairdryer set on low heat to gently blow-dry the bed surface. However, be cautious not to use excessive heat as it may damage certain types of printing beds.
Once your bed is completely dry, it’s important to reinstall it properly. Ensure that it is aligned correctly and securely attached to avoid any shifting during printing. Take note of any leveling adjustments that may need to be made after reinstallation.
In case your printer bed doesn’t dry completely even after waiting patiently, you can carefully blot away excess moisture with a clean cloth or paper towel. Be gentle and avoid applying too much pressure as this may damage delicate surfaces.
Lastly, there are some common mistakes to avoid during reinstallation. Avoid touching the cleaned surface with bare hands as oils from your skin can affect print adhesion. Also, double-check that all screws and fasteners are tightened appropriately to ensure stability during printing.