Are you a beginner in the world of 3D printing? Looking to learn how to design your own models using Blender? Look no further! In this ultimate tutorial, we will guide you step-by-step through the process of creating 3D printable models in Blender. You’ll discover essential tools and features, master mesh topology for successful prints, optimize your models for flawless results, and even explore advanced techniques like sculpting and texturing. Get ready to dive into the exciting world of 3D printing with Blender!
5 Essential Tools and Features in Blender for 3D Printing
In this section, you’ll learn about the essential tools and features in Blender that are crucial for 3D printing. Mastering scale and dimensions is vital in ensuring accurate prints. Blender provides precise measurement controls, allowing you to set the correct size for your models. Additionally, utilizing modifiers is key for creating complex shapes. Modifiers such as Boolean operations enable you to combine multiple objects or cut out specific parts, expanding your design possibilities.
Experimenting with different materials and textures is another important aspect of 3D printing with Blender. The software offers a wide range of material options, including plastics, metals, and even wood textures. This allows you to achieve unique and realistic finishes on your printed models.
Accessing online communities and resources is highly recommended when using Blender for 3D printing. There are numerous online forums and websites dedicated to sharing knowledge and providing support for Blender users. These platforms offer tutorials, troubleshooting tips, and inspiration from other artists within the community.
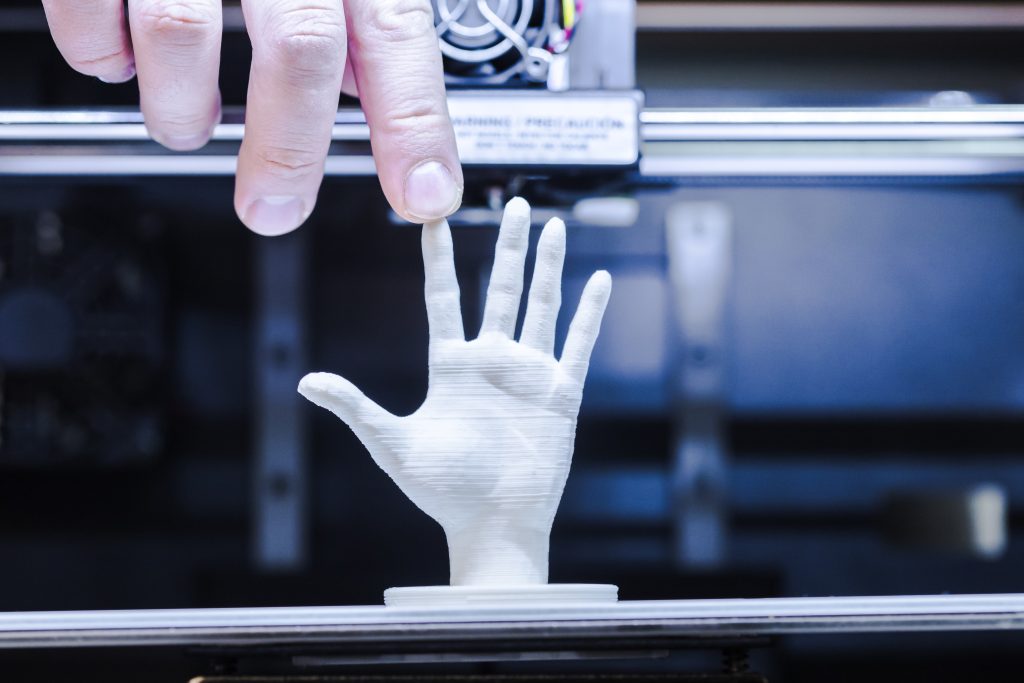
Mastering Mesh Topology: A Key to Successful 3D Printing in Blender
To achieve successful 3D prints in Blender, you need to master mesh topology by ensuring proper edge flow and avoiding non-manifold geometry. Mesh topology refers to the arrangement of vertices, edges, and faces that make up a 3D model. It is crucial for achieving accurate and high-quality prints.
Mastering mesh topology involves creating clean and organized models with well-connected edges. This helps prevent issues such as intersecting faces or overlapping geometry that can lead to printing errors. Additionally, understanding how to optimize edge flow allows for smoother surface transitions in your printed objects.
Another important aspect of 3D printing in Blender is print bed calibration. Proper calibration ensures that your model adheres correctly to the print bed and prevents warping or detachment during printing. It is essential to accurately set the bed level and adjust the nozzle height for optimal results.
Support structures are often necessary when printing complex or overhanging geometries. Knowing how to add support structures within Blender will help ensure stability during printing and facilitate easy removal after completion.
Finally, post-processing techniques can enhance the final appearance of your printed objects. These techniques include sanding, painting, or applying different finishes to achieve desired aesthetics.
Optimizing Your Models for 3D Printing: Best Practices in Blender
Achieving successful 3D prints in Blender involves optimizing your models by ensuring proper mesh topology, print bed calibration, effective use of support structures, and applying post-processing techniques. To start, 3D printer calibration is crucial for accurate prints. This includes calibrating the extruder steps/mm, bed leveling, and nozzle clearance. Additionally, optimizing support structures is essential to provide stability during printing. You can strategically place supports where needed and use the correct settings to ensure easy removal after printing.
Post-processing techniques play a vital role in enhancing the final print quality. Sanding can smooth rough surfaces and remove any imperfections. Painting or adding surface finishes can add a professional touch to your model. Material considerations are also important. Each material has its own properties and may require different settings for optimal results.
Advanced Techniques for 3D Printing With Blender: Sculpting and Texturing
Master advanced techniques in Blender for 3D printing by exploring the art of sculpting and adding detailed textures to your models. In Blender, you can take your 3D prints to the next level with advanced sculpting techniques. Sculpt mode allows you to manipulate and shape your models using a variety of brushes and tools. With these tools, you can create intricate details and bring your designs to life.
Texture mapping in Blender is another powerful feature that adds depth and realism to your models. By applying textures to different parts of your model, you can simulate various materials such as metal, wood, or fabric. This technique gives your prints a visually appealing look.
When creating intricate details in Blender for 3D printing, it’s important to consider material optimization. Optimizing your models ensures that they are printable without any issues such as overhangs or excessive support material. By keeping an eye on these factors during the design process, you can save time and resources.
Troubleshooting Tips for 3D Printing in Blender: Common Issues and Solutions
Having trouble with your 3D prints in Blender? Let’s explore some troubleshooting tips to help you identify and resolve common issues for successful printing.
One of the most common troubleshooting issues in 3D printing is print quality. To improve print quality, it’s important to start by calibrating your printer. This includes ensuring proper bed leveling, nozzle height, and extrusion settings. Additionally, check that your filament selection matches the requirements of your printer and model.
Another common issue is under-extrusion or over-extrusion. Under-extrusion occurs when insufficient filament is being fed into the hot end, resulting in weak or incomplete prints. Over-extrusion, on the other hand, leads to excess filament being deposited, causing blobs and uneven surfaces. Adjusting the extruder steps per millimeter and flow rate can help address these issues.
Stringing and oozing are also common problems in 3D printing. Stringing refers to thin strands of filament appearing between printed objects or features, while oozing is the excessive leaking of melted filament during non-print moves. Tweaking retraction settings and temperature can minimize these issues.
Lastly, pay attention to layer adhesion and warping. Poor layer adhesion can result in weak prints that easily break apart, while warping causes corners or edges of a print to lift from the build plate during cooling. Optimizing bed temperature, using a heated enclosure if available, or applying adhesive aids like hairspray can help mitigate these problems.

