Are you ready to take your 3D prints to the next level? In this ultimate guide, we’ll show you how to achieve a flawless paint job on your printed objects. From priming to final touches, we’ll walk you through the step-by-step process of creating a professional finish. You’ll learn the importance of proper preparation and choosing the right materials for optimal results. Whether you’re an industrial designer or a hobbyist, this guide will equip you with the knowledge and techniques needed for stunning painted 3D prints.
Step-by-Step Instructions for Priming 3D Prints
To begin priming your 3D prints, you’ll need to apply a few layers of primer/filler to fill any surface imperfections and create a smooth base for painting. Start by buffing the model using sandpaper with different grits to achieve a flawless surface. Use finer sandpaper for detailed areas and larger grits for flat surfaces. After sanding, clean the model thoroughly to remove any dust or debris.
Next, use masking tape to cover any areas of the model that you want to preserve or protect from paint. This will ensure clean lines and prevent overspray.
When troubleshooting common painting issues, such as paint not adhering properly or uneven coverage, make sure you are using the right type of paint for your specific material. Additionally, check the temperature and humidity levels in your workspace as they can affect the drying time and overall finish of your paint job.
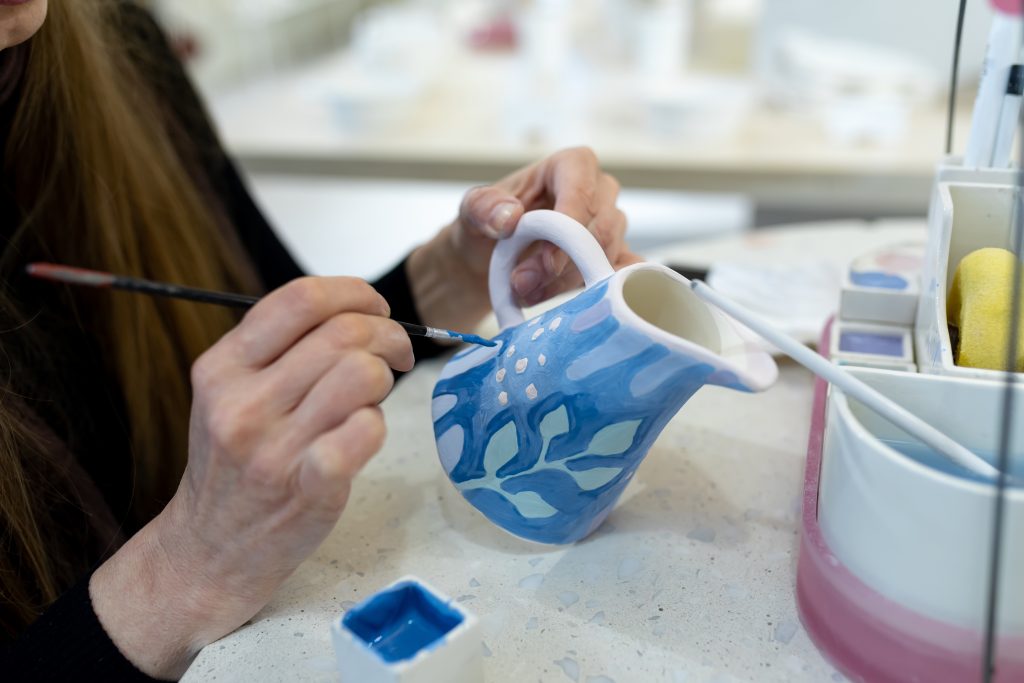
For weathering effects, consider using techniques like dry brushing or applying washes to add depth and realism to your 3D prints. Experiment with different colors and application methods to achieve desired effects.
Lastly, customization options are endless when it comes to painting 3D prints. You can add decals or stickers for personalization or even mix different paints to create unique color blends. Don’t be afraid to get creative and explore various finishes like matte or metallic for a truly customized look.
Mastering the Technique of Spray Painting 3D Printed Models
When spray painting 3D printed models, it’s important to apply thin layers of paint in multiple coats for a glossy finish. This technique ensures that the paint is evenly distributed and avoids any drips or clumps. To achieve a professional looking glossy finish, there are several tips to keep in mind. Firstly, make sure to properly prepare the surface by sanding it down and removing any imperfections before applying the paint. This will result in a smooth and flawless surface for painting. Additionally, be sure to use an undercoat or base layer to enhance color richness and depth.
Exploring different painting techniques can also help you achieve unique effects on your 3D printed models. Consider experimenting with gradients or blending colors for a more dynamic look. Additionally, using weathering techniques can add realistic effects and give your model an aged appearance.
During the painting process, it’s important to troubleshoot common issues that may arise. One common mistake is not allowing enough drying time between coats of paint, which can result in smudging or streaking. Another issue is not properly cleaning brushes or airbrushes after each use, which can lead to clogged nozzles or inconsistent application of paint.
Finally, don’t be afraid to get creative with your painted 3D prints! Personalize them by adding decals or stickers for customization. You can also experiment with different finishes such as matte or metallic paints to create unique effects.
Achieving a Flawless Finish With Clear Coat and Final Touches
For a flawless finish on your 3D printed models, applying a thin, even layer of clear coat is crucial to achieve a glossy shell that enhances the overall appearance. Here are four important steps to follow for achieving that perfect finish:
1. Buffing Techniques: Before applying the clear coat, it’s essential to buff the surface of your model using polishing compounds. This step will remove any imperfections and create a smooth base for the clear coat.
2. Polishing Compounds: Choose high-quality polishing compounds specifically designed for 3D prints. These compounds help to remove scratches and bring out the shine in your model.
3. Weathering Effects: If you want to add realistic weathering effects to your printed model, consider using weathering powders or washes after applying the clear coat. These products can create an aged or worn look by adding depth and texture.
4. Custom Decals: To add personalized details or logos to your model, consider using custom decals. These can be applied before or after the clear coat, depending on your preference.
Essential Tools and Materials for Priming 3D Printed Parts
The essential tools and materials for priming 3D printed parts include spray-on primer, plastic-compatible paint, a rotary tool for sanding, hand files for removing support marks, and flexible sanding sheets. When choosing the right primer, it is important to consider one that provides good adhesion to the 3D printed material. Tips for sanding include using a rotary tool with fine-grit sanding attachments to smooth out any rough surfaces and using hand files to remove support marks carefully. There are different types of spray paints available, such as acrylic or enamel-based paints, which offer a variety of colors and finishes. It is also important to choose the right type of clear coat for your project, whether it be gloss or matte finish. Safety precautions while painting should always be taken into consideration, such as wearing gloves and a mask to protect against fumes or particles. By utilizing these tools and materials properly and following safety guidelines, you can achieve a professional-looking finish on your 3D printed parts.
Importance of Proper Preparation and Choosing the Right Paint
Properly preparing the 3D printed part and selecting the right paint are crucial for achieving a high-quality finish. To ensure success, follow these important tips:
1. Preparation Tips:
– Clean the 3D printed part thoroughly to remove any dust or debris.
– Remove any support structures or residue left from printing.
– Sand the surface of the part to achieve a smooth finish before painting.
– Apply a primer to improve paint adhesion and create an even base.
2. Paint Selection:
– Consider the material of your 3D printed part when choosing paint.
– Acrylic paints are versatile and widely used for their ease of use and wide color range.
– Enamel paints provide a durable and glossy finish, perfect for functional parts.
– Experiment with spray paints for large areas, ensuring compatibility with your primer and part material.
3. Material Considerations:
– Understand the properties of your 3D printed material before painting.
– Different materials may require specific primers or types of paint for optimal results.
4. Troubleshooting Techniques & Post Painting Effects:
– If the paint doesn’t adhere well, try sanding or priming again before reapplying it.
– Use sandpaper or polishing compounds to achieve a smoother finish on painted parts.
– Apply a clear coat to protect your paint job and add durability.
– Explore weathering techniques, decals, stickers, or different finishes like matte or metallic for added customization.