Are you interested in exploring the world of 3D printing? In this beginner’s guide, we will show you how to create your own 3D models for printing. You’ll discover the fascinating process behind 3D printing and learn about different technologies used in the industry. We’ll provide tips on designing and preparing your models for print, troubleshooting common issues, and perfecting your prints. Get ready to unlock the potential of 3D printing and bring your ideas to life!
Understanding the Basics of 3D Modeling
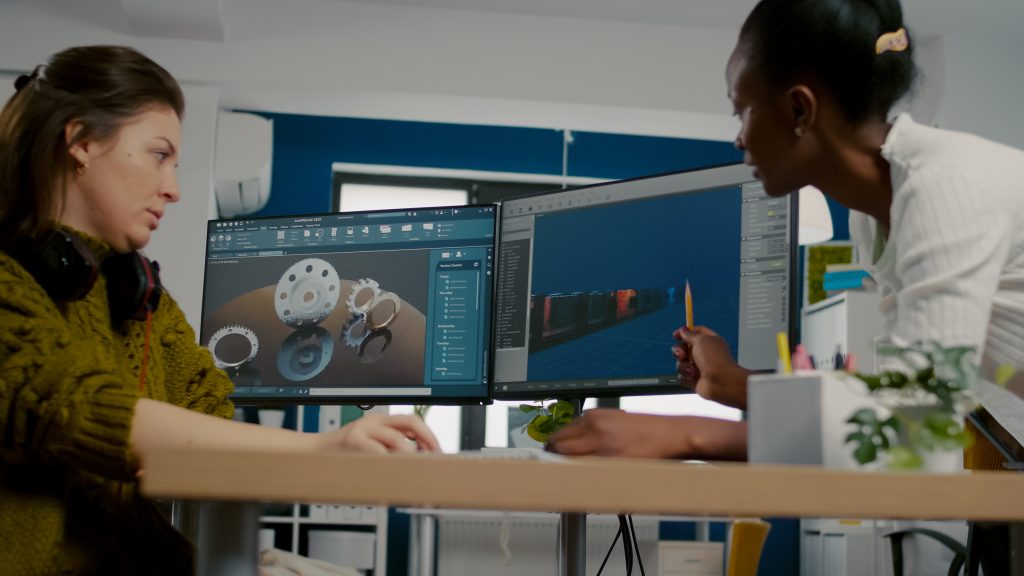
Understanding the basics of 3D modeling is essential for creating printable 3D models. When it comes to 3D modeling techniques, there are several software options available that you can choose from. Each software has its own features and capabilities, so it’s important to compare them and find the one that best suits your needs.
When modeling for different materials, it’s crucial to consider their specific requirements. Some materials may require additional support structures or have limitations on certain design features. It’s important to familiarize yourself with these considerations to ensure successful prints.
Accurate measurements are key in 3D modeling. Taking precise measurements of your object and inputting them accurately into the software will result in a print that matches your intended dimensions. Be sure to double-check your measurements before starting the printing process.
The iterative design process is an important aspect of 3D modeling. It involves creating multiple versions or iterations of a design, making adjustments along the way based on feedback and testing. This process allows you to refine your model and achieve the desired outcome.
Choosing the Right Software for 3D Modeling
When getting started with 3D printing, you’ll want to choose the right software for 3D modeling that suits your needs and level of expertise. There are several popular 3D modeling software options available, each with its own features and capabilities. To begin learning 3D modeling basics, you can start with user-friendly software like Tinkercad or SketchUp. These programs offer a simplified interface and intuitive tools that make it easy for beginners to create basic shapes and designs.
Once you’ve mastered the basics, you can move on to more advanced 3D modeling techniques using software like Autodesk Fusion 360 or Blender. These programs provide a wide range of tools and functionalities for creating complex models with precise measurements and intricate details.
To ensure efficient 3D modeling, there are a few tips you should keep in mind. First, familiarize yourself with the software’s user interface and shortcuts to speed up your workflow. Second, practice using keyboard shortcuts for commonly used commands to save time when navigating through the software. Lastly, take advantage of online tutorials and resources to expand your knowledge and learn new techniques.
Mastering the Art of Creating Printable 3D Models
To become proficient in creating printable 3D models, you’ll need to master advanced techniques and ensure your designs are optimized for successful printing. There are several key factors to consider when designing a 3D model for printing. First, you need to understand the principles of 3D modeling techniques. This includes learning how to create complex shapes, use boolean operations, and apply textures and materials. Additionally, it’s important to take design considerations into account. This involves thinking about the size, strength, and functionality of your model. It’s also crucial to pay attention to details such as wall thickness, overhangs, and support structures.
Model preparation techniques are essential before sending your design to the printer. This includes checking for any errors or issues that may affect the print quality. You’ll also need to ensure that your model is properly scaled and oriented for printing.
The iterative design process is another important aspect of creating printable 3D models. This involves testing and refining your design through multiple iterations until you achieve the desired outcome.
Finally, advanced modeling techniques can take your designs to the next level. These include using parametric modeling tools, incorporating organic shapes with sculpting tools, or even exploring generative design methods.
Optimizing and Preparing 3D Models for Printing
To optimize and prepare your 3D models for printing, you should consider factors such as geometry complexity, wall thickness, and the need for support structures. First, ensure that your model’s geometry is suitable for 3D printing by avoiding complex shapes or intricate details that may result in printing errors. Next, adjust the wall thickness of your model to ensure structural integrity while minimizing material usage. This can be done using CAD software or by modifying the settings in your slicing software.
When it comes to support structures, evaluate whether they are necessary for your print. Support structures are temporary structures that help prevent overhangs from sagging during the printing process. However, they can be time-consuming to remove and may leave marks on the final print. If possible, design your model with self-supporting features or use support generation tools within slicing software to minimize their use.
Additionally, pay attention to file format compatibility when preparing your 3D models for printing. The most common file format used in 3D printing is STL (Standard Triangle Language), but check if your printer supports other formats like OBJ or AMF.
Accuracy is crucial in achieving high-quality prints. Ensure that your measurements are precise and double-check them before starting a print job. Calibration of your printer’s bed leveling and nozzle height is also essential to maintain accuracy throughout the print process.
Finally, consider post-processing techniques to enhance the appearance of your prints. These can include sanding rough surfaces, applying paint or coatings, or even using specialized techniques like vapor smoothing for certain materials.
Troubleshooting and Perfecting Your 3D Prints
Troubleshooting common issues and achieving flawless results is crucial in perfecting your 3D prints. As a beginner in the world of 3D printing, it’s important to understand the potential issues that can arise during the printing process and how to overcome them. One common issue is poor print quality, which can manifest as stringing, warping, or layer misalignment. To improve print quality, you can start by calibrating your printer properly and ensuring that the bed is level. Additionally, adjusting settings such as temperature, speed, and flow rate can make a significant difference. Troubleshooting techniques involve identifying the source of the problem through careful observation and testing different solutions accordingly.
Once you have achieved satisfactory print quality, post-processing methods can further enhance the appearance and functionality of your prints. Techniques such as sanding or using acetone vapor smoothing can smooth out rough surfaces. Painting or applying coatings can add color or protect the printed object from external factors.
Print finishing techniques play a vital role in achieving professional-looking results. Removing support structures carefully without damaging the print is essential. Trimming excess material and cleaning up any imperfections will give your print a polished finish.
Remember to always prioritize safety when handling 3D prints by wearing gloves or protective equipment if necessary.

